Octavalidate - JS V1.3.2 
This JavaScript library helps to validate your frontend (HTML) forms using validation rules, sophisticated regular expressions and form input attributes.
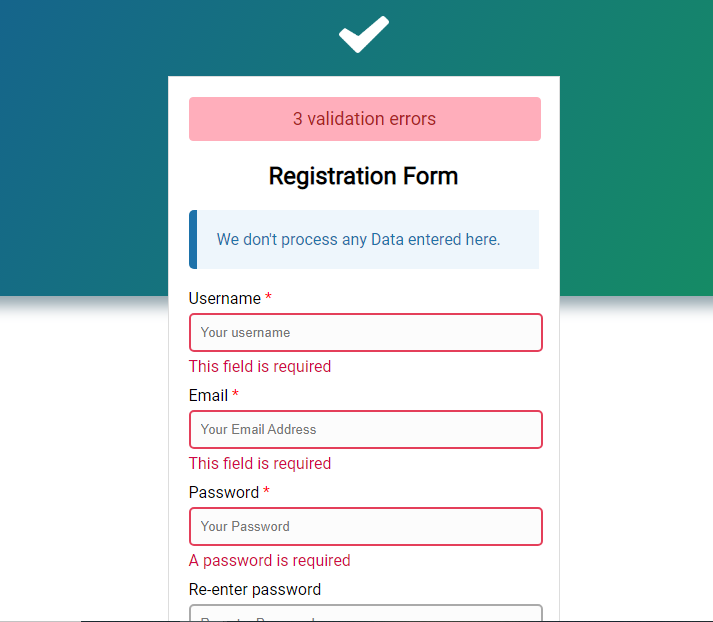
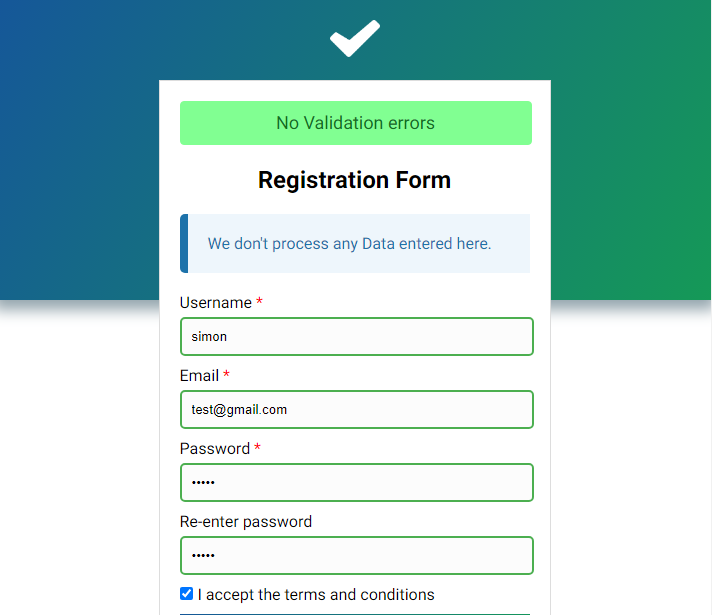
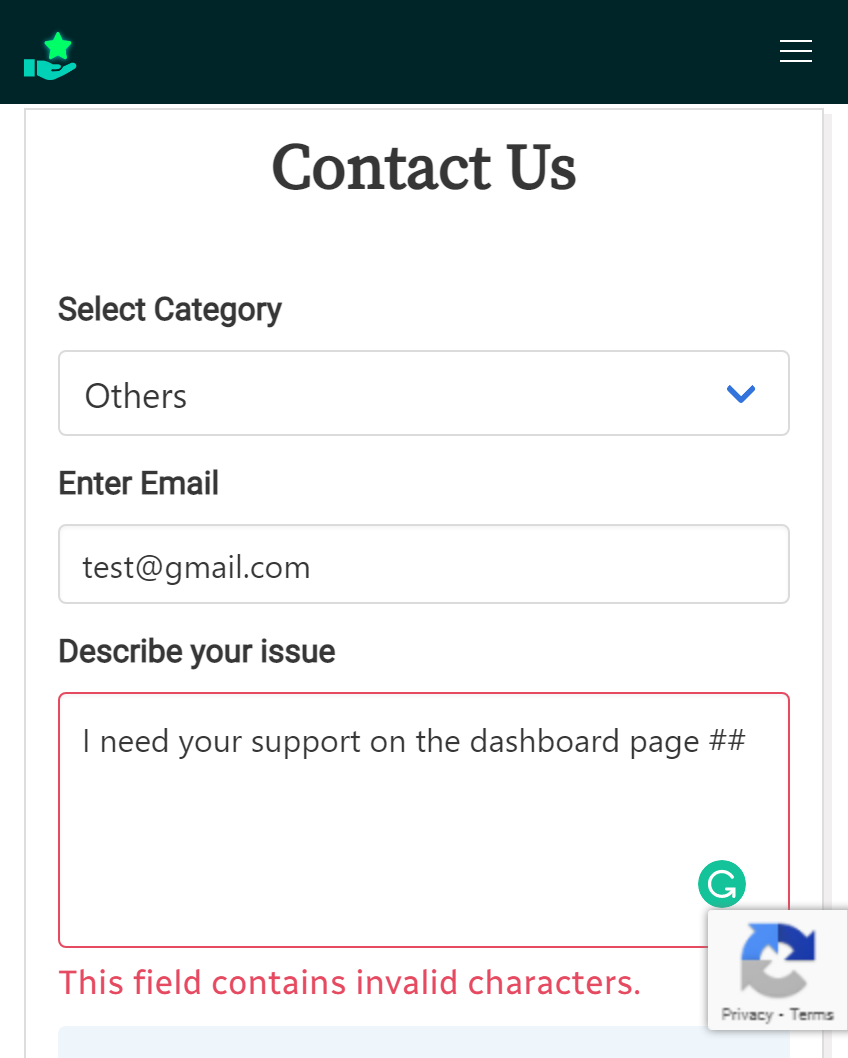
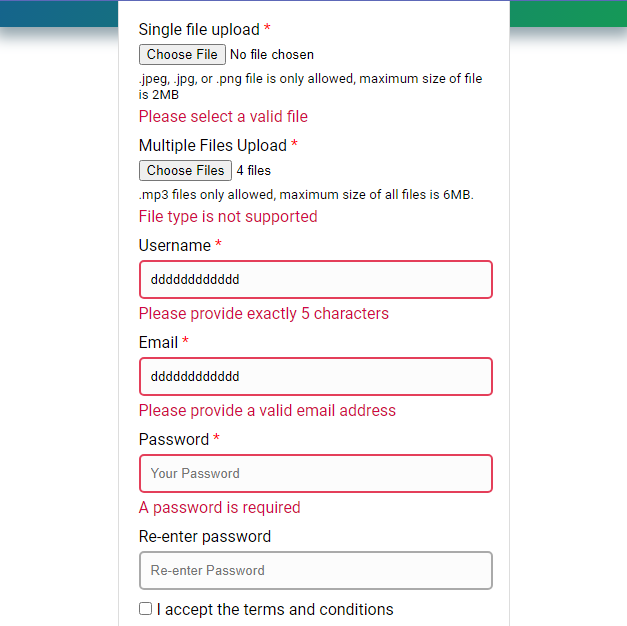
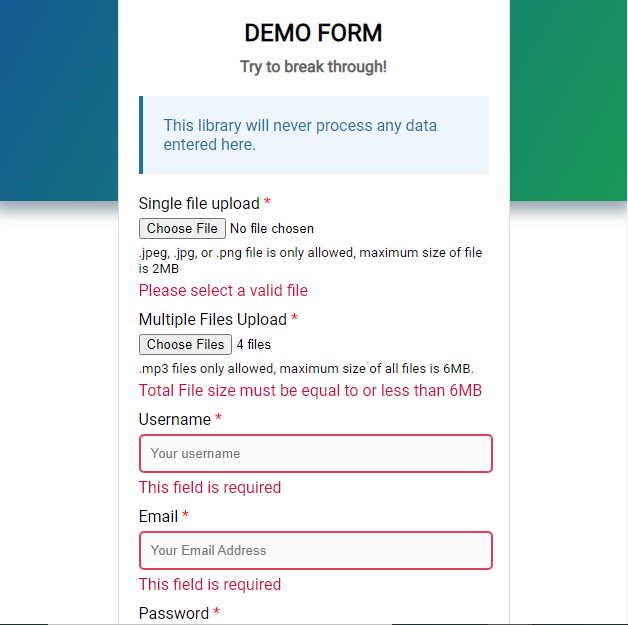
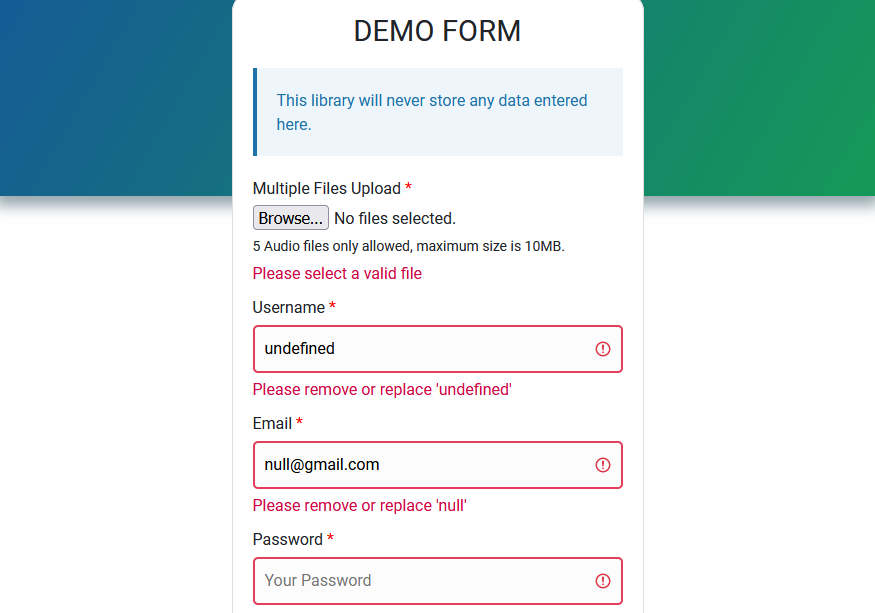
We have included a demo.html file which you can play with to see how this library really works.
OTHER RELEASES
Octavalidate - ReactJS
Use the ReactJS release of this library to validate your front-end forms client-side.
Octavalidate - PHP
Use the PHP release of this library to validate your forms server-side.
Octavalidate - NodeJS
Use the NodeJS release of this library to validate your forms server-side.
DOCUMENTATION
Visit the DOCUMENTATION to learn more about this GREAT Library!
INSTALL
CDN
Place this script before the </head> tag.
<script src="https://unpkg.com/octavalidate@latest/native/validate.js"></script>
LOCAL
- Download and import the latest release to your project.
- In your project, create a script tag and link the file
validate.js. - Place the script before the
</head>tag.<script src="octaValidate/src/validate.js"></script>
React JS
Visit this Link to the Documentation to learn how you can install & use this Library in React JS.
How to Use
Create a form tag with input elements and set the attribute octavalidate with a list of validation rules on the form input(s) that you want to validate.
<form id="form_register">

    <input id="inp_email" name="email" type="email" octavalidate="R,EMAIL">

    <input id="inp_age" name="age" type="number" octavalidate="R,DIGITS">

    <button type="submit">submit</button>

</form>
Make sure that all input elements have a unique identifier.
Now you need to create a new instance of the function and pass in the form id as the first argument, and any configuration options as the second argument.
Then begin validation on that particular form by invoking the validate() method.
It is recommended to invoke the
validate()method when the form is submitted.
The return type of the validate() method is Boolean.
-
truemeans that there are no validation errors -
falsemeans that there are validation errors
//create new instance of the function
const myForm = new octaValidate('FORM_ID');
//listen for submit event
document.getElementById('FORM_ID').addEventListener('submit', function(e){
    e.preventDefault();
    //invoke the method
    if(myForm.validate() === true)
    {
      //validation successful
      //process form data here
    } else {
      //validation failed
    }
})
VALIDATION RULES
Here is the list of default validation rules.
- R - A value is required.
- ALPHA_ONLY - The value must be letters only! (lower-case or upper-case).
- LOWER_ALPHA - The value must be lower-case letters only.
- UPPER_ALPHA - The value must be upper-case letters only.
- ALPHA_SPACES - The value must contain letters or Spaces only!
- ALPHA_NUMERIC - The value must contain letters and numbers.
- DATE_MDY - The value must be a valid date with the format mm/dd/yyyy.
- DIGITS - The value must be valid digits or numbers.
- PWD - The value must contain at least one number and one uppercase and lowercase letter, and at least 8 or more characters.
- EMAIL - The value must be a valid Email Address.
- URL - The value must be a valid URL
- URL_QP - The value must be a valid URL and may contain Query parameters.
- USERNAME - The value may contain letters, numbers, a hyphen or an underscore.
- TEXT - The value may contain any of these special characters (. , / () [] & ! ‘’ “” : ; ?)
Can’t see a validation rule that you need for your form? Don’t worry!
With octaValidate, you have the power to define a custom rule and it will be processed as if it were a default rule.
CUSTOM VALIDATION RULES
In some cases where you need a custom rule, use the method below to define one for your form.
//syntax for custom rule
myForm.customRule(RULE_TITLE, REG_EXP, ERROR_TEXT);
Here’s a custom rule to validate an email address.
//custom email validation
const rule_title = "EML";
const reg_exp = /^\w+([\.-]?\w+)*@\w+([\.-]?\w+)*(\.\w{2,3})+$/;
const err_txt = "Please povide a valid Email Address";
//create new instance of the function
const myForm = new octaValidate('form_register');
//define the custom rule
myForm.customRule(rule_title, reg_exp, err_txt);
Then on your Input Element, provide the rule title [ EML ].
<input type="email" id="inp_email" octavalidate="EML">
Note: All Rule Titles are case-sensitive!
MORE CUSTOM RULES
What if you want to define more validation rules?
All you need to do is to create an object with your validation rule, regular expression and error text separated by a comma, then invoke the moreCustomRules() method.
//EMAIL AND URL VALIDATION RULES
var rules = {
    "EML": [/^\w+([\.-]?\w+)*@\w+([\.-]?\w+)*(\.\w{2,3})+$/, "A Valid email address is required"],
    "URI": [/^((?:http:\/\/)|(?:https:\/\/))(www.)?((?:[a-zA-Z0-9]+\.[a-z]{3})|(?:\d{1,3}\.\d{1,3}\.\d{1,3}\.\d{1(?::\d+)?))([\/a-zA-Z0-9\.]*)$/i, "Please provide a valid URL"]
};

//create new instance of the function
const myForm = new octaValidate('form_register');
//define more custom rules
myForm.moreCustomRules(rules);
Note: You do not need to pass in your regular expression as a string! This is because the JavaScript engine natively recognizes regular expressions.
CUSTOM ERROR MESSAGE
We’ve added an extra attribute that will enable you to provide your custom error message incase a validation fails.
The table below shows the default validation rules and their attibutes for a custom error message.
| Validation Rule | Description | Validation Text Attribute |
|---|---|---|
| R | Required | ov-required-msg |
| ov-email-msg | ||
| ALPHA_ONLY | Alphabets Only | ov-alpha-only-msg |
| ALPHA_SPACES | Alphabets and Spaces | ov-alpha-spaces-msg |
| ALPHA_NUMERIC | Alphabets with Numbers | ov-alpha-numeric-msg |
| LOWER ALPHA | Lowercase letters | ov-lower-alpha-msg |
| UPPER_ALPHA | Uppercase letters | ov-upper-alpha-msg |
| PWD | Password | ov-pwd-msg |
| DIGITS | Digits | ov-digits-msg |
| URL | URL | ov-url-msg |
| URL_QP | URL with Query Parameters | ov-url-qp-msg |
| DATE_MDY | Date in the format MM/DD/YYYY | ov-date-mdy-msg |
| USERNAME | Username | ov-username-msg |
| TEXT | General Text | ov-text-msg |
Here’s how to use the custom error message
<input type="text" octavalidate="R,USERNAME" ov-required-msg="Your username is required" ov-username-msg="Username should contain letters or numbers" name="username" id="inp_uname">
The
Rvalidation rule validates a CHECKBOX, FILE INPUT ELEMENT, or a TEXT input by marking them as required fields and you may provide a custom validation error text using the attributeov-required-msg.
ATTRIBUTES VALIDATION
Currently we have 4 attributes validation:
- length validation
- EqualTo validation
- File validation
- Range validation
LENGTH VALIDATION
You can validate: maxlength, minlength and length by providing it as an attribute to the form input.
- maxlength (5) - This means that value must be 5 characters or less.
- minlength (5) - This means that value must be up to 5 characters or more.
- length (5) - This means that value must be equal to 5 characters.
<input type="text" id="inp_maxlength" maxlength="5">

<input type="text" id="inp_minlength" minlength="5">

<input type="text" id="inp_length" length="5">
EQUALTO VALIDATION
You can check if two inputs contain the same values, using the attribute equalto on the input element, with a value containing the ID of the other input element to check against.
<input type="password" id="inp_pwd1" octavalidate="R,PWD" ov-required-msg="Your Password is required">
<!--check if both values match -->
<input type="password" id="inp_pwd2" equalto="inp_pwd1" ov-equalto-msg="Both passwords do not match">
FILE VALIDATION
You can validate: accept, accept-mime, size, minsize, maxsize by providing it as an attribute to the file input element.
- accept - Use this attribute to list out the file extensions allowed for upload
- accept-mime - Use this attribute to list out the file MIME types allowed for upload. It supports a wildcard eg audio/*, image/png
- size (2MB)
single or multiple- This means that the file provided must be 2MB in size - minsize (5MB)
single or multiple- This means that the file provided must be up to 5MB or more. - maxsize (5MB)
single or multiple- This means that the file provided must be 5MB or less.
Please refer to the documentation to learn more about file validation.
RANGE VALIDATION
You can validate a range of numbers using this attribute. Say I want a user to provide a number between 1 to 5, I will set up the validation like this on my input element
<input type="text" id="inp_range" range="1 - 5">
API METHODS
STATUS
Invoke the status() method anytime to check the number of validation errors present on the form.
//Your validation instance
const myForm = new octaValidate('form_register');
//check validation errors
myForm.status();
CALLBACKS
You can define a function that will execute if there are validation errors or a function that will execute if there are no validation errors.
To define a callback, invoke the method below then pass in your function as an argument.
//create new instance of the function
const myForm = new octaValidate('form_register');
//success callback
let successCB = function(){
    alert("No validation error");
}
//error callback
let errorCB = function(){
    alert(myForm.status()+" validation error(s)")
}
//invoke the method
myForm.validateCallBack(successCB, errorCB);
If there are no validation errors, successCB will be executed but if there are validation errors, the errorCB will be executed.
Note: This callback feature will only work if validation has started on the form. Make sure to start validating the form by invoking the
validate()method when the form is being submitted.
CONFIGURATION
We have 3 configuration options:
-
strictMode:
BooleanThis option removes extra white space from the start and at the end of a form input and also prevents the user from providing reserved keywords as values. Default value is
false. -
strictWords:
ArrayThis option alows you to provide words that users are not supposed to submit. For eg [“null”, “error”, “false”, “fake”, “admin”]. In order to use this option, you must set
strictModetotrue. -
errorElem:
ObjectThis option makes the library to append the error message right after the element provided
To use any of these options, provide it as an object and pass it as the second argument when creating an instance of octaValidate.
//config options
const options = {
  strictMode : true,
  strictWords : ["error", "false", "invalid", "fake", "admin"],
  errorElem : {
    "INPUT_ID" : "INPUT_ID_WRAPPER"
  }
}
//my function instance
const myForm = new octaValidate('FORM_ID', options);
REFERENCE METHODS
After creating an instance of the function, the methods below becomes available for use.
//create instance of the function
const myForm = new octaValidate('FORM_ID');
-
validate()Invoke this method to begin validation
-
status()Invoke this method to see the number of validation errors on a form
-
form()This method returns the form ID attached to the instance.
-
customRule(RULE_TITLE, REG_EXP, ERROR_TEXT)Invoke this method to define your custom validation rule.
-
moreCustomRules(RULES)Invoke this method to define more custom validation rules.
-
version()Invoke this method to retrieve the library’s version number.
-
validateCallBack(success_callback, error_callback)Invoke this method, providing your success callback or error callback as arguments. The success callback will execute when there are no validation errors and the error callback will execute when there are validation errors
There are more methods in the documentation, please visit the documentation to learn more.
LEARN MORE
Do you need a detailed explanation on how to use this library? Read the article on Medium
DEMO
- Open demo.html (also included in the folder) and submit the form.
SCREENSHOTS
